 Fairhaven Siding
 Building New in Bow Means Building for Salt Air and Rain From Day One
When you're framing a new home or addition in Bow, the windows you choose and how they're installed will decide how that house performs for the next 30-plus years. This isn't Eastern Washington, where a window opening is a fairly forgiving detail. Out here, close enough to Samish Bay and the Whatcom County coastline to catch salt-laden air, with driving rain that comes in sideways during fall and winter storms, and a moss season that stretches long into the wet months, a new-construction window opening either sheds water correctly or it doesn't. There's no in-between, and there's no fixing it cheaply once siding and trim are closed up over a bad install.
New-construction windows are a different job than replacement windows, and they should be treated that way. Replacement work goes into an existing, already-flashed opening. New construction means we're building the water-management system for that opening from bare framing outward — the window is just one layer in a stack that has to work as a system.
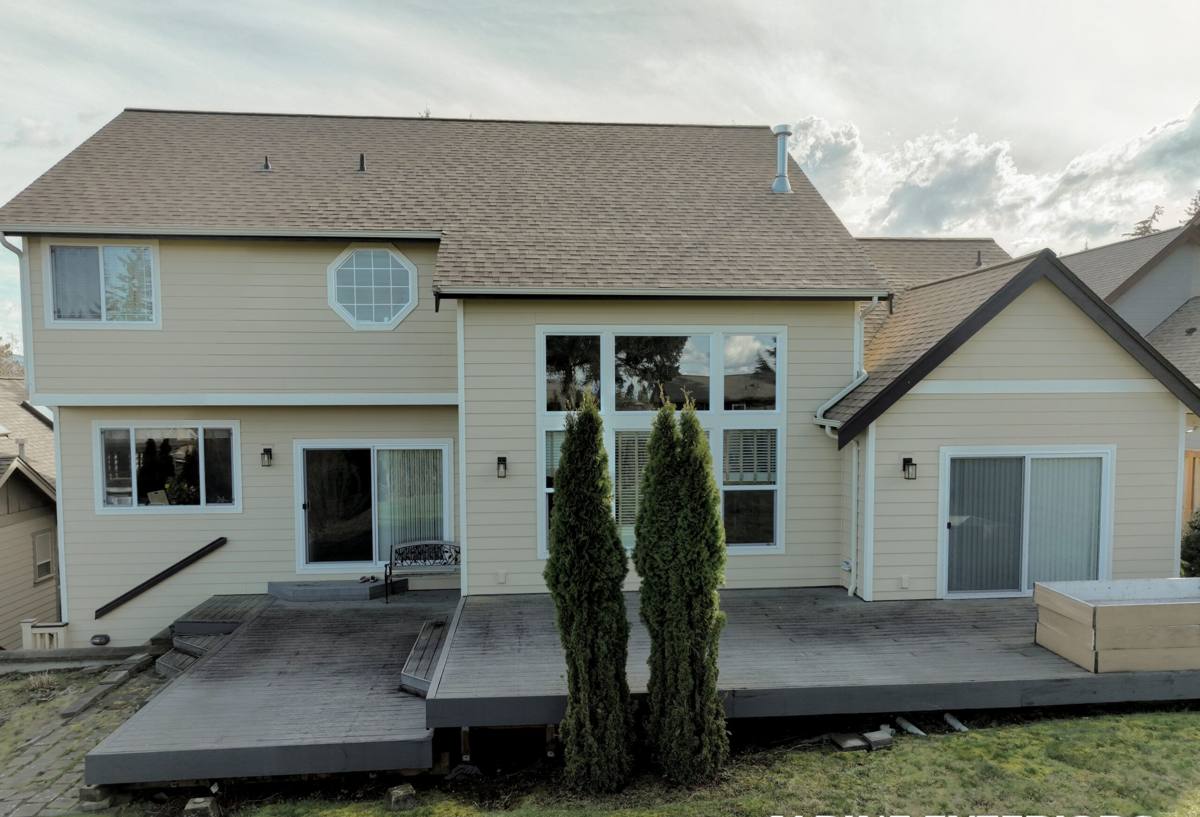
New Construction vs. Replacement — Why the Distinction Matters
A lot of homeowners and even some builders use "new windows" loosely, but the install method is fundamentally different, and getting it confused is where problems start.
| Factor | New-Construction Window | Replacement Window |
|---|---|---|
| Frame type | Nail-fin (flange) frame, fastened to sheathing | Pocket or block frame, fits into existing opening |
| Water management | Built into the rough opening flashing sequence | Relies on existing flashing being intact |
| Best used when | Framing is open, sheathing/WRB not yet closed in | Siding and trim are already in place and sound |
| Access to structure | Full — sill, jambs, and header are all visible | Limited — old flashing often can't be inspected |
On a Bow build, we almost always want nail-fin, new-construction windows set into an open rough opening. It's the only way to guarantee every flashing layer laps correctly, which matters more here than in drier climates because there's simply more water looking for a way in over the life of the house.
What a Correct New-Construction Install Actually Involves
The window unit itself is often the easiest part of this job. The flashing sequence around it is where the actual weatherproofing happens, and it has to go in a specific order so every layer sheds water down and out, never up or in.
The Sequence We Follow
- Rough opening is checked for square, level, and correct dimensions before anything else happens.
- Sill pan flashing goes in first, sloped slightly to the exterior so any water that gets past the window has somewhere to go.
- Weather-resistive barrier (WRB) is cut and prepped so it will integrate with the window flange rather than fight it.
- Window is set, leveled, and fastened per the manufacturer's schedule — not just "enough screws to hold it."
- Jamb and head flashing go over the nail fin, always shingled so upper layers overlap lower ones.
- WRB is taped back over the flashing, maintaining the drainage plane all the way to the siding.
- Interior sill and rough opening gaps are insulated and air-sealed without over-compressing the window frame.
Skip or reverse any one of these steps and you've built a leak into the wall that might not show up for years — often right around the time moss and algae growth on north-facing walls starts trapping moisture against the siding and making a marginal install fail outright.
Where We See New Builds Go Wrong
- Head flashing installed under the WRB instead of over it, sending water behind the barrier instead of in front of it
- No sill pan, relying on caulk alone to keep water out of the rough opening
- Housewrap taped in the wrong order, breaking the shingle-lap drainage path
- Window fastened through the frame instead of the nail fin, which can distort the unit and void the warranty
- Shims left uninsulated, creating a cold spot and condensation point at the jamb
- Sealant used as the primary water barrier instead of as a backup to proper flashing
Materials That Hold Up Near the Water
Salt air breaks down materials faster than people expect, especially anything with exposed metal fasteners or thin-gauge trim. For Bow builds we lean toward window and trim materials that don't depend on paint film alone to survive the coastal exposure.
| Frame Material | Coastal Performance | Maintenance | Typical Fit |
|---|---|---|---|
| Vinyl | Good — won't corrode or rot, handles moisture well | Low; occasional cleaning | Most new builds, budget-conscious projects |
| Fiberglass | Very good — stable in temperature swings, resists warping | Low | Larger openings, higher-end new construction |
| Wood-clad | Requires careful detailing at the cladding seams to keep moisture out | Higher; seams need periodic inspection | Homes prioritizing an interior wood look |
| Aluminum | Conducts cold and can corrode without a quality finish | Moderate | Limited use; mainly commercial or specific architectural styles |
We'll talk through the trade-offs honestly rather than push one product line. Vinyl and fiberglass both handle this climate well when installed correctly; the real performance difference on a coastal build usually comes down to installation quality, not brand.
Energy Code and Performance in Whatcom County
Washington's energy code sets minimum U-factor requirements for new construction, and those numbers matter more here than the marketing glass coatings do. A window with a low U-factor keeps conditioned air in during the cold, wet months that dominate the calendar in this part of Whatcom County. We spec glass packages that meet or beat current code requirements and make sense for the home's orientation — south and west exposures dealing with more direct weather get different consideration than a sheltered north wall.
Beyond code compliance, a well-sealed new-construction window install also cuts down on the drafts and condensation that show up around poorly flashed openings once the heating season sets in.
Our Process on a Bow New-Construction Job
We coordinate directly with the builder or GC so window installation lands at the right point in the schedule — after sheathing and WRB are up, before siding closes the wall in. That timing window matters; installing too early or too late creates rework for every trade behind us.
- Walkthrough with the builder to confirm window schedule, rough opening sizes, and any custom units
- Material delivery and staging so units are protected from weather before they're set
- Flashing and installation following the sequence above, unit by unit
- Photo documentation of flashing layers before they're covered by siding, so there's a record of what's behind the wall
- Final adjustment after siding and trim are complete — checking operation, seals, and weatherstripping
Because we work Bow-area builds regularly, we already know the kind of exposure a given lot is likely to see — whether it's more sheltered or catching the full brunt of weather off the water — and we adjust flashing detail and product selection accordingly rather than installing the same way on every job regardless of site.
Cost Factors on New-Construction Window Jobs
| Factor | Why It Moves the Price |
|---|---|
| Window count and size | More openings and larger units mean more material and labor |
| Frame material | Vinyl is typically the most economical; fiberglass and wood-clad cost more |
| Glass package | Higher-performance glass for code compliance or specific exposures adds cost |
| Site access and timing | Coordinating around other trades on an active build site affects labor time |
| Custom shapes or sizes | Non-standard openings require special-order units and longer lead times |
We don't quote a job without walking the plans or the site first — new-construction pricing depends too much on the specifics to give a meaningful number sight unseen. What we can promise is a straightforward, itemized estimate with no surprise add-ons once the walls are closed up.
Why Local Experience on This Coastline Matters
A crew that mostly installs windows inland doesn't run into the same problems we see routinely on Bow builds — the moss growth on shaded elevations, the way driving rain off the water hits certain wall orientations harder than others, or how salt air accelerates wear on fasteners and finishes that would otherwise last decades. None of that is exotic knowledge, but it's the kind of thing you only account for correctly if you've flashed openings on this stretch of coastline before, not just read about it. Getting the water management right the first time, while the wall is still open, is far cheaper than diagnosing a leak two years after the siding is closed up.
If you're planning a new build or addition in the Bow area and want windows installed correctly the first time, we're happy to walk the plans with you or your builder. Reach out for a free, no-pressure estimate — there's a form below to get started.