 Fairhaven Siding
 Siding Repair in Bow: What the Local Climate Puts Your Walls Through
Bow sits close enough to open water and low-lying wetland that its homes take a different kind of weathering than houses further inland. Salt-laden air corrodes fasteners and trim faster than dry-climate exposure ever would. Driving rain off the water pushes moisture sideways into seams and laps that were never meant to face standing water pressure. And the long, damp shoulder seasons that stretch from fall through spring give moss and algae months at a time to take hold on north- and west-facing walls that never fully dry out. None of this means siding fails quickly — it means it fails in a specific, predictable pattern, and a repair that doesn't account for that pattern usually needs to be redone within a few years.
A siding repair here isn't just "replace the bad board." It's diagnosing why that board went bad in the first place, because in this climate the visible damage is almost always a symptom of a moisture path, not an isolated defect.
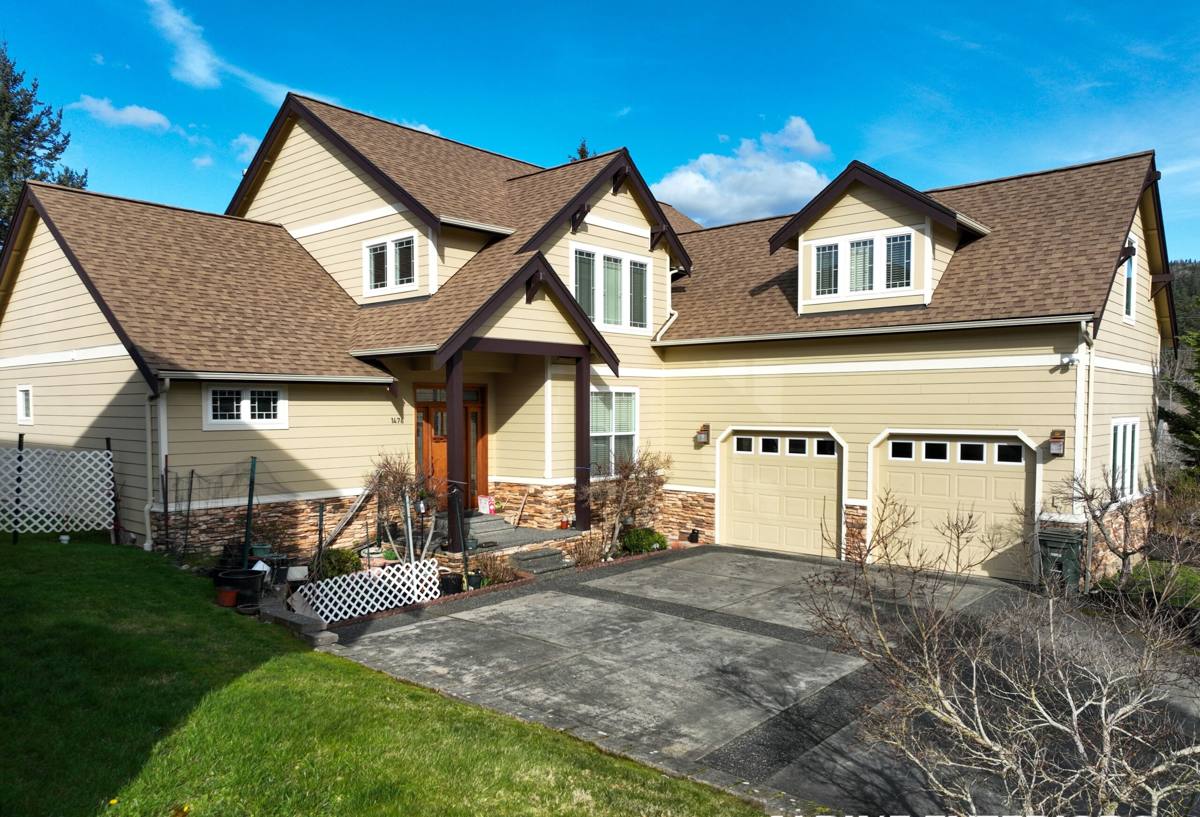
Signs Your Bow Home's Siding Needs Repair — Not Full Replacement
Most siding problems we see in this area are localized: a section near a downspout, a wall that catches wind-driven rain, or trim around a window that was never properly flashed. Catching these early is what keeps a repair a repair, instead of turning into a full re-side.
- Soft, spongy spots when you press on a section of siding, especially near the bottom courses or below window sills
- Cracking or checking along horizontal seams, which lets water track behind the cladding
- Peeling or bubbling paint concentrated in one area rather than spread evenly across the wall
- Dark staining or streaking below butt joints or trim pieces
- Persistent moss or green-black algae buildup that keeps returning within a season or two of cleaning
- Gaps opening up at trim boards, corner boards, or where siding meets window and door casing
- Nail pops, visible fastener heads, or boards that look slightly warped or bowed
If damage is limited to one or two wall sections and the framing behind it is still sound, a targeted repair is usually the right call. If moisture has been working behind the cladding for years, or damage shows up in multiple unrelated spots, that's usually a sign the whole siding system is past its service life — and a repair estimate should say so honestly rather than patch around it.
What a Correct Siding Repair Actually Involves
A repair that just swaps a damaged board for a new one and calls it done is the most common way we see repairs fail a second time. Doing it right means going a step further at every stage:
Diagnose before you cut
Before removing anything, we check how far the moisture damage extends — into the sheathing, around the framing, or just the cladding itself. Cutting out only the visibly damaged board while leaving compromised material behind it just hides the problem under new paint.
Check the water-resistive barrier
Behind the siding should be an intact weather-resistive barrier doing the real waterproofing work. Repairs are a chance to inspect it. If it's torn, missing, or improperly lapped at the repair site, patching the barrier correctly matters more than the board itself.
Flash it properly
Kickout flashing at roof-to-wall intersections, proper head flashing above windows and trim, and correct lapping at seams are what keep driving rain from finding its way behind the cladding again. A repair that skips flashing is a repair that's designed to fail again.
Fasten and finish correctly
Fasteners need to be corrosion-resistant given the salt air in this area, driven to the manufacturer's spec rather than overdriven or underdriven, and any cut edges need to be sealed and primed before finish coats go on — an easy step to skip and an easy one to regret.
Why We Repair and Rebuild With James Hardie Fiber Cement
We install James Hardie fiber cement siding exclusively, and that carries into how we handle repairs. If a home already has Hardie siding, repairs are usually straightforward — Hardie boards hold their dimensions, don't swell or rot at cut edges the way wood-based products can, and ColorPlus factory-finished color can often be matched closely for a clean repair.
If a home has vinyl, LP SmartSide, cedar, or another fiber cement brand and the damaged section needs more than a cosmetic fix, we'll say so plainly: patching a failing product with more of the same product usually just delays the next repair call. Wood-based siding is especially vulnerable in a climate with this much sustained moisture — once water gets behind it, the substrate itself can start to break down, and no repair fixes that at the source. In those cases we'll walk through what a partial or full replacement with Hardie would look like, because it's a non-combustible product engineered for moisture exposure, backed by a strong transferable warranty, and it holds its factory finish far longer than field-painted alternatives — which matters a lot in an environment that's hard on paint to begin with. That said, not every repair needs to become a replacement conversation, and we won't push one that isn't warranted.
Repair or Replace? What Actually Drives That Decision
| Factor | Leans toward repair | Leans toward replacement |
|---|---|---|
| Extent of damage | One or two isolated sections | Scattered across multiple walls |
| Age of siding | Under 10–15 years, otherwise sound | Near or past expected service life |
| Moisture behind cladding | Localized, source identified and fixable | Widespread, sheathing or framing affected |
| Material match | Existing color/profile can be matched closely | Product discontinued or badly weathered/faded |
| Underlying cause | One-off flashing or fastener failure | Systemic issue (poor original install, wrong product for climate) |
Most calls in Bow land somewhere in the middle of this table, which is exactly why an honest on-site inspection matters more than a guess from a photo.
Our Process for a Bow Siding Repair Call
- Inspection: We look at the damaged area and check surrounding sections, trim, flashing, and — where accessible — what's happening behind the cladding.
- Moisture check: We confirm whether the damage is contained or has spread into sheathing or framing before quoting anything.
- Straightforward estimate: A written scope that says exactly what's being repaired, what materials are used, and why — no vague line items.
- Material matching: For Hardie repairs, matching factory ColorPlus finish or profile as closely as possible; for other siding types, an honest conversation about repair vs. partial replacement.
- The repair itself: Correct flashing, fastening, and sealing — not just a board swap.
- Cleanup and walkthrough: We show you what was done and why, so you know what to keep an eye on going forward.
Why a Crew That Already Works This Area Matters
A contractor who works Bow and the greater Fairhaven area regularly has already seen how homes in this specific stretch of Whatcom County take on weather — which wall orientations catch the worst of the driving rain, how quickly moss reestablishes on shaded siding here versus a drier inland town, and what the common original construction and siding choices in this area tend to be. That's the difference between a repair estimate based on a quick look and one based on knowing what's usually happening behind the wall before the first board even comes off. It also means faster response — repairs that get scheduled and finished before the next round of weather, rather than sitting on a waitlist while damage spreads.
Maintaining Repaired Siding Through the Next Moss Season
A good repair buys you years, but only if the conditions that caused the original damage are managed going forward. A few habits go a long way in this climate:
- Keep gutters and downspouts clear so water isn't dumping directly onto or behind siding sections
- Trim back vegetation and tree cover that keeps shaded walls damp longer than they need to be
- Rinse moss and algae off north- and west-facing walls before it has a chance to establish rather than after
- Walk the exterior once a year and check caulk lines at trim and window edges for cracking or separation
- Address small issues — a lifted board, a cracked seam — before the next wet season, not after
Checklist: What to Ask Before Hiring for a Siding Repair
- Will you check for moisture behind the cladding, or just replace what's visible?
- What's your plan for flashing at this repair — not just the board itself?
- Can you match my existing siding's color and profile, and how closely?
- Do you work in Bow and the surrounding area regularly, or is this a one-off trip?
- Will I get a written scope of exactly what's being repaired and why?
If a siding repair in the Bow area is on your radar — whether it's one soft spot near a downspout or several sections that have been bothering you for a while — we're glad to take a look and give you a straightforward, no-pressure estimate using the form below.