 Fairhaven Siding
 Why Lummi Island Homes Ask for Something Different
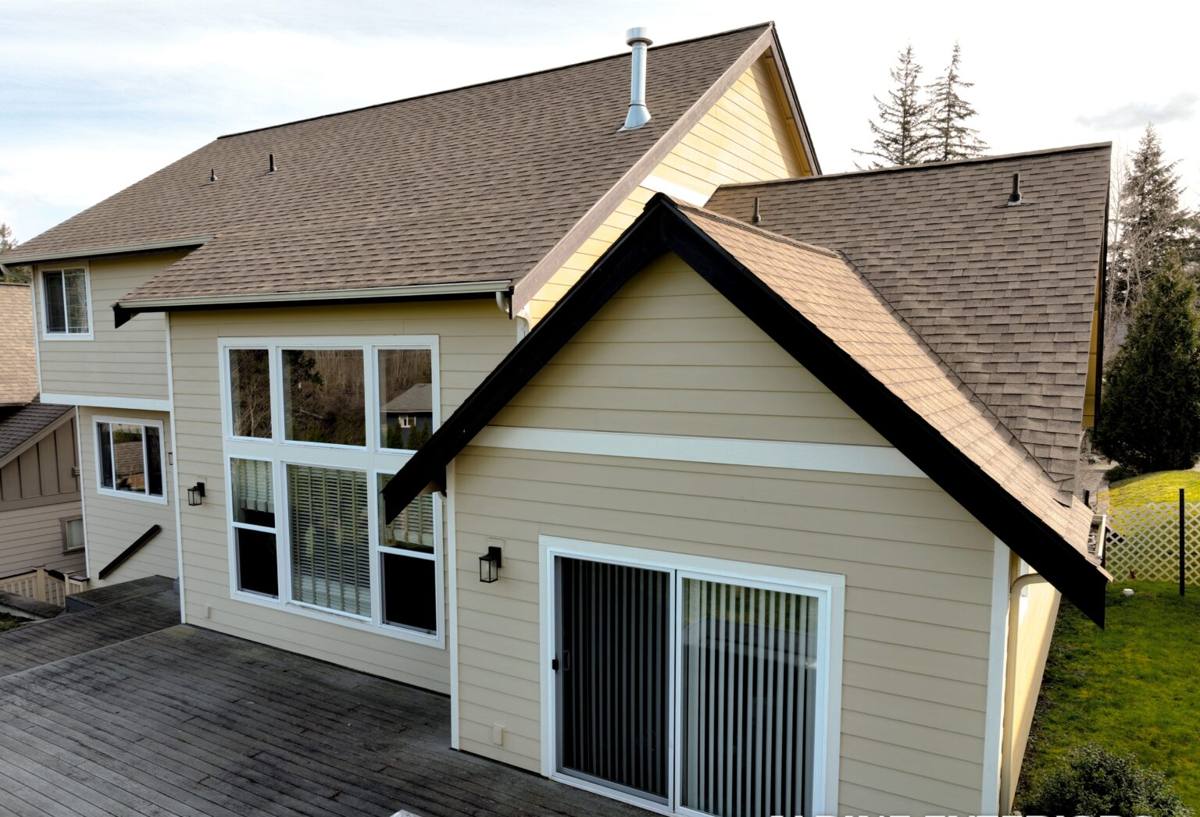
Lummi Island sits out in the salt water and weather in a way most mainland Whatcom County neighborhoods don't. Homes here take a steadier dose of salt-laden air, wind-driven rain, and long stretches of damp, low-sun months than a house tucked into a sheltered Fairhaven street. That combination is hard on windows specifically — not just the glass, but the frames, the seals, the flashing behind the trim, and every fastener holding it together. A window that performs fine for a decade in a protected inland spot can start failing in half that time on an exposed island wall.
When we talk about "custom" windows for a Lummi Island home, we don't mean fancy shapes or unusual grid patterns (though we do that too). We mean windows and an installation approach matched to the actual exposure of that specific wall, on that specific house, in a place where salt air and moisture are constant rather than occasional.
What the Climate Actually Does to a Window
It helps to understand the failure modes we're designing against, because it changes what "correct" looks like:
- Salt air accelerates corrosion on hardware, screws, and any exposed metal components — hinges, cranks, and cheap fasteners go first.
- Driving rain pushed by wind off the water finds any weak point in flashing or caulking and drives water sideways and upward, not just straight down.
- Long moss season means sustained moisture sitting against trim, sills, and siding for weeks at a time, which rots wood components that aren't properly sealed or detailed to shed water.
- Temperature swings between damp mornings and afternoon sun stress seals and can fog double-pane units faster if the seal quality is marginal.
None of this means island homes need exotic materials. It means the frame material, the hardware finish, and — most importantly — the installation details around the window have to be chosen deliberately rather than defaulted to whatever's cheapest.
Frame Material: What Actually Holds Up
There's no single "best" window material for every home — it depends on the wall's exposure, the home's style, and budget. Here's how the common options actually behave in this environment:
| Material | Salt air performance | Maintenance | Notes for island exposure |
|---|---|---|---|
| Vinyl | Good — won't corrode or rust | Low; occasional cleaning | Solid value option; check hardware quality, not just the frame |
| Fiberglass | Very good — dimensionally stable, resists warping | Low | Handles temperature swings and moisture well; higher upfront cost |
| Aluminum-clad wood | Good on the exterior face; interior wood needs protection | Moderate | Attractive option but relies on flawless flashing to keep the wood core dry |
| Bare wood | Poor without diligent upkeep | High — regular repainting/sealing | We generally steer island clients away from unclad wood on exposed walls; the maintenance burden in this climate is significant |
Hardware matters as much as the frame. Standard-grade cranks, locks, and hinges corrode faster in salt air than marine-grade or coated stainless components. On exposed elevations, we spec upgraded hardware even when the base window line offers a cheaper standard option — it's a small cost difference that avoids a hardware replacement in a few years.
Glass Packages
Double-pane, low-E glass is the standard baseline for this region and performs well. Triple-pane adds meaningful sound dampening and a bit more insulating value, which some owners want on wind-exposed sides of the house, but it's a real cost jump and isn't necessary everywhere on a home — often it makes the most sense on the windward wall only, with double-pane elsewhere.
Where the Real Failures Happen: Installation Detail, Not the Window Itself
Most window "failures" we get called out to fix on exposed coastal and island homes aren't a bad window — they're a bad installation. Water gets behind the frame because flashing wasn't lapped correctly, or a bead of sealant was asked to do a job that flashing should have done. Once water gets behind a window on a wall that stays damp for weeks at a time in moss season, rot in the surrounding framing follows.
A correct installation on an exposed Lummi Island wall includes:
- Removing the old window and inspecting the rough opening framing for existing rot or water staining before anything new goes in.
- Installing a properly lapped weather-resistant barrier and sill pan flashing so any water that does get past the window sheds back outward, not into the wall.
- Setting the window level, plumb, and square with correct shimming — a slightly out-of-square install stresses seals and hardware over time.
- Sealing and insulating the gap between the frame and rough opening with the right materials for the wall assembly, not just spray foam everywhere.
- Flashing and trimming the exterior so water is directed away from the top and sides of the window, not just caulked shut.
- Final check of operation, seals, and weep points before we call the job done.
Skip step one and you're sealing a new window into a wall that's already compromised. Skip step two or five and you're setting up the next failure, just a few years down the road instead of now.
Working on an Island Changes the Job, Not Just the Weather
Getting crews, materials, and equipment to Lummi Island means working around the ferry schedule, which affects how a project gets planned and staged — not the quality of the work, but the logistics of it. A crew that's used to this plans deliveries and crew arrivals around ferry timing so a job doesn't stall out waiting on a missed sailing or a late materials run. That's a small thing until it's your project sitting half-finished with an open wall on a rainy afternoon.
It also means we try to have what we need on-site before we start — extra fasteners, sealants, and flashing materials — rather than making a return trip mid-job. Contractors unfamiliar with island work sometimes underestimate this and end up stretching timelines that shouldn't stretch.
Cost Factors for a Lummi Island Window Project
Every project is different, and we'll always give you real numbers after seeing the actual openings, but the main variables that move the price are consistent:
| Factor | Why it matters |
|---|---|
| Wall exposure | Windward walls facing open water need more robust flashing and hardware than sheltered sides |
| Existing rot or damage | Framing repair, if the old window let water in for years, adds labor before install even starts |
| Frame material chosen | Vinyl, fiberglass, and clad-wood carry different material costs |
| Glass package | Double-pane vs. triple-pane, and any upgraded low-E or sound-dampening coatings |
| Number and size of openings | Larger or custom-shaped windows cost more to fabricate and install than standard sizes |
| Access and logistics | Ferry scheduling and site access can affect labor time on island jobs |
As a broad range, straightforward single-window replacements typically run into the low thousands per opening once you account for material quality and correct flashing work; full-home window replacements scale up from there based on the count and sizes involved. We'll walk your specific home and give you a real number, not a phone estimate.
Maintaining Custom Windows in This Climate
Even a correctly installed, well-built window benefits from a bit of seasonal attention out here. A short annual routine goes a long way:
- Rinse salt residue off exterior frames and glass a few times a year, especially after storms — salt film left to sit accelerates corrosion and finish wear.
- Clear moss and organic debris from sills, tracks, and any horizontal trim ledges before it holds moisture against the frame.
- Check and lightly lubricate hardware (locks, cranks, hinges) annually so salt air doesn't seize moving parts.
- Inspect exterior caulking and sealant lines each fall, before the wet season sets in, and touch up any cracked or separated beads.
- Look for soft spots or discoloration in surrounding trim, which can signal water getting behind the window rather than shedding off it.
- Make sure weep holes on the exterior of the frame stay clear so water can drain out as designed.
Our Process for an Island Window Project
We start with an on-site walkthrough of every opening involved, not just a quick look from the driveway — exposure varies wall to wall on the same house. We check existing framing condition, talk through material and glass options that fit the home and your budget, and give you a written estimate with real numbers. Once you approve the scope, we plan the materials list and crew timing around ferry logistics so the job runs on schedule once we start, and we don't leave openings exposed longer than necessary in wet weather. When it's done, we walk you through operation and the basic upkeep that keeps these windows performing for the long run out here.
If you're weighing a window project on Lummi Island — whether it's one problem opening or a full-home replacement — we're happy to come take a look and give you a straight, no-pressure estimate. Fill out the form below and we'll get in touch.