 Fairhaven Siding
 New-Construction Windows, Not Replacement Windows
There's a real difference between a "replacement window" and a "new-construction window," and it matters more than most homeowners and even some builders assume. A replacement window is built to fit inside an existing window opening, using the old frame as its anchor. A new-construction window has a nailing flange (sometimes called a nail fin) around its perimeter, designed to be fastened directly to the wall sheathing during framing, before siding or trim goes on. If you're building new in Downtown Bellingham — a full new home, an addition, an accessory dwelling unit, or a multi-unit infill project — you need the new-construction type installed correctly the first time, because once the siding is closed up, fixing a bad window install means tearing into finished exterior work.
This page is specifically about that job: window installation during new construction in the Downtown Bellingham area, where the building envelope is going in from scratch and has to be right before it's ever covered.
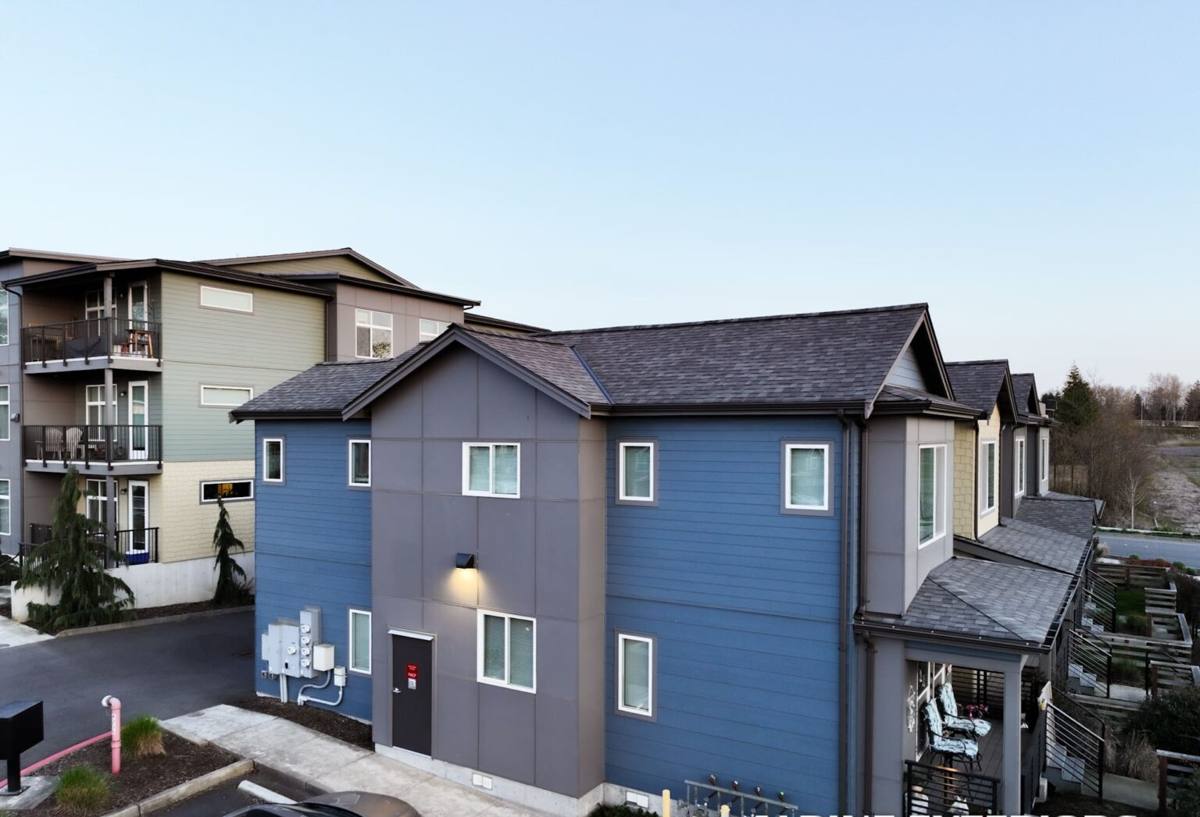
Why This Climate Changes How the Job Gets Done
Whatcom County weather isn't dramatic, but it's persistent, and that's exactly what wears down a poorly installed window over time. Downtown Bellingham sits close enough to Bellingham Bay that salt-laden air is a factor for exposed metal components, fasteners, and hardware. Winter and shoulder-season storms bring driving rain that hits walls sideways, not just from above, which means a window's water management has to work under wind pressure, not just gravity. And the long stretch of damp, low-sun months each year creates a moss and mildew season that finds any spot where moisture lingers instead of draining and drying.
None of this is exotic. But it does mean a window installed the way it might be in a drier inland climate — with shortcuts on flashing or sealant that would go unnoticed for years elsewhere — will show problems here much sooner: staining, soft trim, fogged glass units, or worse, moisture getting behind the siding where you can't see it until it's already caused damage.
What Actually Fails First
- Sealant applied over dirty or wet flashing tape, which never bonds properly and opens a gap within a few seasons
- Missing or improperly lapped sill pan flashing, letting wind-driven rain pool at the sill instead of draining out
- Fasteners or trim hardware that aren't rated for coastal exposure, corroding faster than the window itself
- Housewrap that isn't integrated with the window flange in the correct shingle-lap order, creating a reverse lap that funnels water inward
Getting the Water Management Right
A new-construction window installation is really a sequencing job. The window itself is only as good as the flashing and water-barrier details around it, and those details have to go in a specific order relative to the housewrap and siding. Done correctly, water that reaches the wall — and in this climate, it will — gets shed outward and downward at every layer, never trapped behind the cladding.
The core elements of a correct install include:
- A sloped sill pan under the window opening so any water that gets past the sash drains back out, not into the wall cavity
- Flashing tape or membrane at the jambs and head, lapped in the correct order — sill first, then jambs, then head, always shingle-style so upper layers overlap lower ones
- Housewrap integrated over the top flashing and under the sill flashing, maintaining the drainage plane's continuity around the opening
- Backer rod and sealant at the interior and exterior, sized and placed to allow for a small amount of drainage rather than sealing the window into an airtight box that traps incidental moisture
Skipping or reordering any one of these steps doesn't usually cause an immediate leak. It causes a slow one, which is worse — moisture works into sheathing and framing over a season or two of driving rain before it ever shows up as a stain on your interior wall.
Choosing a Frame Material for This Environment
Frame material affects both how the window performs against salt air and moisture, and how much upkeep it asks of you over the years. There's no single right answer for every project — it depends on your budget, the building's design, and how much maintenance you want to take on.
| Frame Material | Coastal / Moisture Performance | Maintenance | Typical Fit |
|---|---|---|---|
| Vinyl | Doesn't corrode or rot; performs well against salt air and rain | Low — occasional cleaning | Budget-conscious new builds, rentals, ADUs |
| Fiberglass | Very stable in wet, temperature-swinging conditions; strong against warping | Low | Higher-end new construction, larger openings |
| Wood-clad | Good performance if cladding and seals stay intact; exposed wood interior needs protection from interior moisture | Moderate to high — finish upkeep over time | Traditional or high-design homes where interior wood look matters |
| Aluminum | Strong and slim-profile, but prone to condensation and corrosion near salt air without a thermal break and quality finish | Moderate — watch fasteners and finish near the coast | Modern designs, larger glass areas, commercial-adjacent infill |
For Downtown Bellingham specifically, we lean toward vinyl or fiberglass on most residential new-construction projects because they hold up against salt air and driving rain with the least ongoing attention. Wood-clad and aluminum both have their place, but we're upfront with clients about the added maintenance or detailing they require in this environment — that's a trade-off you should choose knowingly, not discover later.
Energy Performance and Code Requirements
New-construction windows in Whatcom County have to meet the current Washington State Energy Code's window performance requirements, which set minimum standards for U-factor (how well the window resists heat loss) and, on some projects, solar heat gain coefficient. Your builder's plans or your permit application will specify the target values for your project — we install to whatever spec is required for your permit, and we can talk through options if you want to exceed the minimum for comfort or utility savings.
Beyond the code minimum, a few practical performance notes for this climate:
- Low-E glass coatings help with both winter heat retention and reducing glare off the bay on sunny days
- Double-pane is standard on most new builds here; triple-pane adds cost but can be worth it on north- and west-facing walls that take the brunt of storms
- Proper flashing matters as much for energy performance as for leak prevention — air leakage around a poorly sealed window undermines even a high-performance glass package
Our Installation Process
On new-construction projects we work directly with your builder or general contractor's framing schedule, since window installation happens at a specific point in the sequence — after the wall sheathing and housewrap are up, before siding starts.
- Rough opening check. We verify every opening is square, level, and sized correctly before a window ever goes in — catching framing issues now is far cheaper than after the fact.
- Sill pan and flashing installation. We build the drainage path at each opening before setting the window.
- Window set and fastening. The window is set plumb and level, fastened through the nailing flange per the manufacturer's schedule.
- Flashing integration. Jamb and head flashing tie into the housewrap in the correct shingle-lap order.
- Interior and exterior seal. Backer rod and sealant are placed at both faces, with attention to allowing any incidental moisture to drain rather than pool.
- Final check. We confirm operation, squareness, and weathertightness before signing off, so the siding crew is closing up a wall you won't have to worry about later.
Timing With Your Build Schedule
Coordination matters more on this job than on almost any other exterior trade. Windows go in at a narrow window of time — sheathing and housewrap done, siding not yet started — and if that timing slips, either the building sits exposed to weather longer than it should, or the siding crew ends up waiting on us. We build our schedule around your GC's framing timeline, not the other way around, because a Downtown Bellingham build sitting open through a wet stretch of weather is a real cost, not a hypothetical one.
We also flag any framing or sequencing issues we spot early — an opening that's out of square, a housewrap detail that needs adjusting before we can flash correctly — so they get fixed while it's still easy, rather than becoming a change order later in the build.
New Construction vs. Replacement: Which Applies to Your Project
If your project is a full new build, addition, or ADU, you need new-construction windows with a nailing flange. If you're updating windows in an existing, already-sided home, you likely need replacement windows instead — a different product and a different install method. Getting this wrong at the ordering stage causes real delays.
| Situation | Window Type Needed | Why |
|---|---|---|
| New home or addition, framing exposed | New-construction (nail-flange) | Flange integrates with housewrap and flashing for full weatherproofing |
| ADU or detached structure, new framing | New-construction (nail-flange) | Same envelope logic as a full new build |
| Existing home, siding already in place | Replacement (insert or full-frame) | Fits into the existing opening without disturbing finished siding |
| Gut renovation down to studs | Often new-construction | If sheathing and housewrap are being redone anyway, flange windows integrate cleanly |
What to Ask Before You Hire
Whether you're a homeowner managing your own build or a GC bringing in a window subcontractor, a few questions up front save headaches later.
- Will you coordinate directly with our framing schedule, or do we need to manage the timing ourselves?
- What's your sill pan and flashing sequence, and can you walk me through it before you start?
- What frame materials do you install, and what would you recommend for a Downtown Bellingham lot specifically?
- Who fixes it if a window leaks after the siding is closed up — is that covered, and by whom?
- Do you carry liability insurance and provide a written scope before work begins?
A contractor who works new construction regularly in this area should be able to answer all of these without hesitation. If you get vague answers on flashing sequence or scheduling, that's worth pausing on before you sign anything.
Why Local Experience on This Job Matters
Downtown Bellingham's mix of dense infill lots, multi-story new builds, and close proximity to the bay means the wind and rain exposure isn't uniform across every project — a lot tucked between existing structures behaves differently than one facing open water. A crew that's done this work in the neighborhood already knows what exposure to plan for, what the City of Bellingham's permitting and inspection process expects, and how to sequence around the area's wetter months so your building envelope isn't left open longer than necessary. That local familiarity is the difference between a window install that's technically fine and one that's actually built for where it sits.
If you're planning a new build, addition, or ADU in the Downtown Bellingham area and want windows installed right the first time, we're happy to walk your plans and give you a free, no-pressure estimate — just fill out the form below.