 Fairhaven Siding
 Building New in Marietta? The Windows Are Part of the Envelope, Not an Afterthought
Marietta sits close to Bellingham Bay, low and exposed to whatever comes off the water — which means a new build here deals with more moisture pressure than a home a few miles inland in Whatcom County. When you're framing new construction, the windows aren't a swap-in-swap-out product decision made at the end of the job. They're installed into an open wall before siding, house wrap, and trim go on, which means the flashing and water management around each window becomes a permanent part of the building envelope. Get that sequence right during construction and the windows will perform for decades. Get it wrong and you won't see the problem until moisture starts showing up inside the wall cavity, often years later and hidden behind finished walls.
We work new-construction and addition projects in the Fairhaven and Marietta area specifically because this stage of the build rewards a crew that already understands the local exposure — salt air, driving wind-driven rain off the bay, and a moss season that runs long here compared to drier parts of the state.
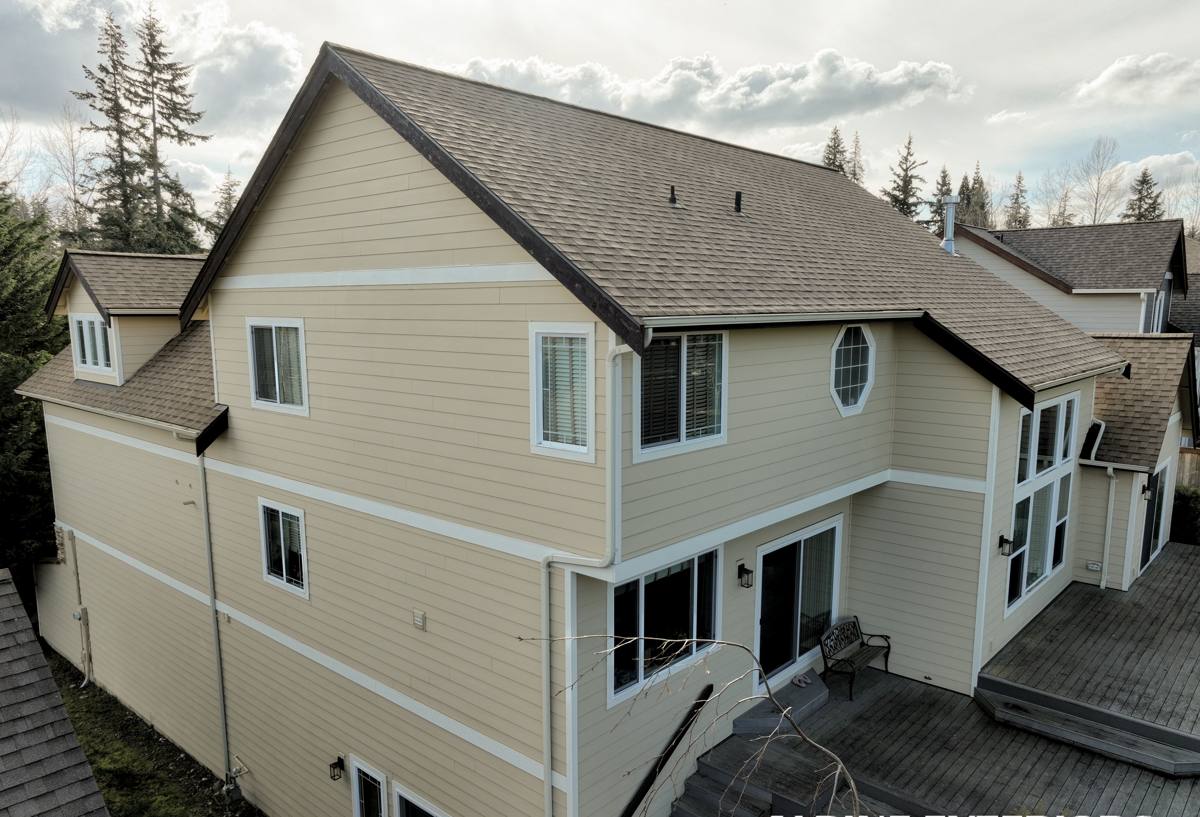
What Marietta's Climate Actually Demands From a Window Install
Salt Air
Proximity to the water means airborne salt settles on exterior surfaces year-round, not just during storms. Salt accelerates corrosion on unprotected fasteners, hardware, and certain metal flashing products. On a new build, this is the moment to spec corrosion-resistant fasteners and flashing at every window opening — it's far cheaper to do it once during framing than to address hardware failure after the siding is closed up.
Driving Rain
Whatcom County storms coming off the Strait and the Sound frequently arrive with wind, which pushes rain sideways into wall assemblies rather than letting it run straight down. A window that's watertight in a calm rain can still leak under wind-driven rain if the flashing laps aren't sequenced correctly. New construction gives us full access to build that sequence properly, layer by layer, before anything gets covered up.
Moss and Sustained Dampness
Long stretches of overcast, damp weather keep exterior surfaces wet longer than in drier climates, which is exactly the environment moss and mildew favor. That doesn't just affect siding and roofing — it affects how quickly wood trim around windows degrades if it isn't properly primed, sealed, and detailed to shed water rather than trap it against the frame.
New-Construction vs. Replacement Windows: Why the Method Is Different
A lot of homeowners assume "installing a window" is the same job whether it's a remodel or a ground-up build. It isn't. New-construction windows are typically nail-fin units set into an open rough opening with full access to the sheathing, house wrap, and framing around them. Replacement windows go into an existing, finished wall where the old frame usually stays in place. The trade-offs are different for each approach.
| Factor | New-Construction Install | Replacement (Retrofit) Install |
|---|---|---|
| Access to wall assembly | Full access to studs, sheathing, WRB | Limited — existing frame usually stays |
| Flashing control | Complete control over sill pan, tape laps, WRB integration | Constrained by existing opening and finishes |
| Best suited for | New builds, additions, full wall reconstruction | Existing homes keeping current siding/trim |
| Long-term water management | Built into the envelope from day one | Dependent on condition of existing opening |
Because Marietta sees more moisture pressure than the regional average, we treat the new-construction flashing sequence as non-negotiable — there's no shortcut version of it that we're willing to stand behind on a coastal job.
The Correct Installation Sequence, Step by Step
This is the part of the job that determines whether a window opening stays dry for the life of the house. On every new-construction opening, the order of operations matters more than the window brand itself.
- Rough opening is checked for square, level, and correct dimensions before anything is installed.
- A sloped sill pan is built or installed at the base of the opening so any water that gets past the window has a path to drain back out, not pool on the sill.
- Weather-resistive barrier (house wrap) is cut and integrated with the opening using a proper flap or window-flange method — not just taped flat.
- Self-adhering flashing tape is applied at the sill first, then the sides, then the head, so each layer laps over the one below it — water always sheds down and out, never into a seam.
- The window is set, shimmed plumb and square, and fastened per the manufacturer's schedule — over-driving or under-driving fasteners both compromise the seal.
- Head flashing is installed above the window before siding closes over the top.
- Interior and exterior sealant is applied at the specified joints only — sealing the wrong joint can trap moisture instead of releasing it.
Skipping or reordering any one of these steps is the single most common reason a "brand new" window leaks within a few years. It's rarely the window unit itself — it's the sequence around it.
Choosing Frame Material for Coastal Exposure
Frame material matters more in Marietta than it would a few miles inland, simply because of the added salt air and sustained dampness. There's no single right answer for every project — it depends on budget, the look of the build, and how much upkeep an owner wants to take on.
| Frame Type | Salt Air / Moisture Behavior | Maintenance | General Cost Tier |
|---|---|---|---|
| Vinyl | Good — won't corrode or rot, seams are the main watch point | Low | Most economical |
| Fiberglass | Very good — dimensionally stable, resists moisture and salt well | Low | Mid to upper |
| Wood, unclad | Poor without diligent upkeep — most vulnerable to sustained dampness | High — regular refinishing needed | Varies |
| Wood, clad (vinyl or aluminum exterior) | Good on the exterior face; interior wood still needs normal care | Moderate | Upper |
We don't install unclad exterior wood windows on new builds this close to the bay as a matter of our own standard — not because wood is a bad product, but because the maintenance burden it puts on a homeowner in this specific climate is higher than most people want to sign up for. Clad wood, fiberglass, or quality vinyl all give a longer runway before the homeowner has to think about the windows again.
How We Work With Marietta Builders and Homeowners
On a new build or addition, we coordinate directly with your general contractor or, if you're owner-building, with your framer and siding crew, so the window install lands at the right point in the schedule — after sheathing and primary WRB, before siding closes the wall. We walk the openings before install to confirm rough-opening sizing matches the ordered units, verify sill pan and flashing materials on site, and document the flashing sequence at each opening as it's completed, since that layer gets covered up and can't be inspected again once siding goes on.
We also flag anything that looks off before it becomes a problem — an opening that's out of square, a WRB detail that doesn't tie in cleanly, or a window schedule mismatch — while it's still cheap and easy to fix, rather than after trim and siding are in place.
Common New-Construction Window Mistakes We See
Most window failures we get called to diagnose in this area trace back to a handful of repeatable mistakes made during the original install, usually by a crew rushing to keep the framing schedule moving.
- No sloped sill pan — water sits on a flat sill instead of draining out
- Flashing tape applied out of sequence, so laps direct water into the wall instead of away from it
- House wrap taped flat over the flange instead of properly integrated with a flap detail
- Fasteners over-driven, crushing the frame and distorting the seal
- Sealant applied at the wrong joint, trapping moisture that needs a path to escape
- Head flashing skipped or installed after siding, leaving no real barrier above the opening
- Uncorroded fasteners omitted in favor of standard hardware not rated for salt exposure
Every one of these is preventable with a careful, correctly sequenced install — none of them require exotic materials, just attention to the order of operations.
Why It Matters That We Already Work in Marietta
A crew that mostly works drier, inland jobs can still install a window correctly on paper — but they may not default to the extra flashing detail or corrosion-resistant hardware that a bay-adjacent Marietta build actually needs, because it isn't second nature to them. We're based out of Fairhaven and work this stretch of Whatcom County regularly, so the salt air, the wind-driven rain angle, and the long moss season aren't unusual conditions we're adjusting for on the fly — they're the baseline we already build to.
That familiarity shows up in small decisions across a job: which flashing tape actually stays adhered in damp, cool conditions during a fall build; how much slope a sill pan needs on a windier lot near the water; which fastener spec holds up over years of salt exposure. None of it is complicated, but it only gets applied consistently by a crew that's used to building for this specific stretch of coastline.
After Move-In: What to Expect
A correctly installed new-construction window shouldn't need attention for years. The one thing worth doing annually, especially in a damp climate like this, is a quick visual check of exterior caulk lines and weep holes (on units that have them) to make sure nothing has cracked or clogged with debris or moss growth. That's a five-minute walk-around, not a maintenance project — and it's the kind of thing we're happy to point out during any future visit to your home.
If you're planning a new build, addition, or full-tear-down rebuild in Marietta or elsewhere around Fairhaven, we're glad to walk the plans or the framed openings with you and talk through what the window install will actually involve for your specific site. Reach out for a free, no-pressure estimate using the form below.