 Fairhaven Siding
 Building New in South Hill Means Building for This Climate
South Hill sits close enough to Bellingham Bay and the Salish Sea that new construction here deals with a different set of conditions than a house going up further inland. Salt-laden air moves through the neighborhood on a regular basis, wind-driven rain comes in sideways during fall and winter storms, and the shaded, damp stretches of the year give moss and algae plenty of time to take hold on anything that stays wet. None of that is a reason to worry about building here — it's just information a window installer needs to actually use, not just acknowledge.
New-construction windows are a one-shot opportunity. Once the siding, trim, and interior finish go on around them, the flashing and sealing decisions made during install are locked in for the life of the house. Get it right the first time and the windows should give you decades of trouble-free service. Get it wrong and you won't know it until water shows up somewhere it shouldn't, often years later and often in a wall cavity you can't see.
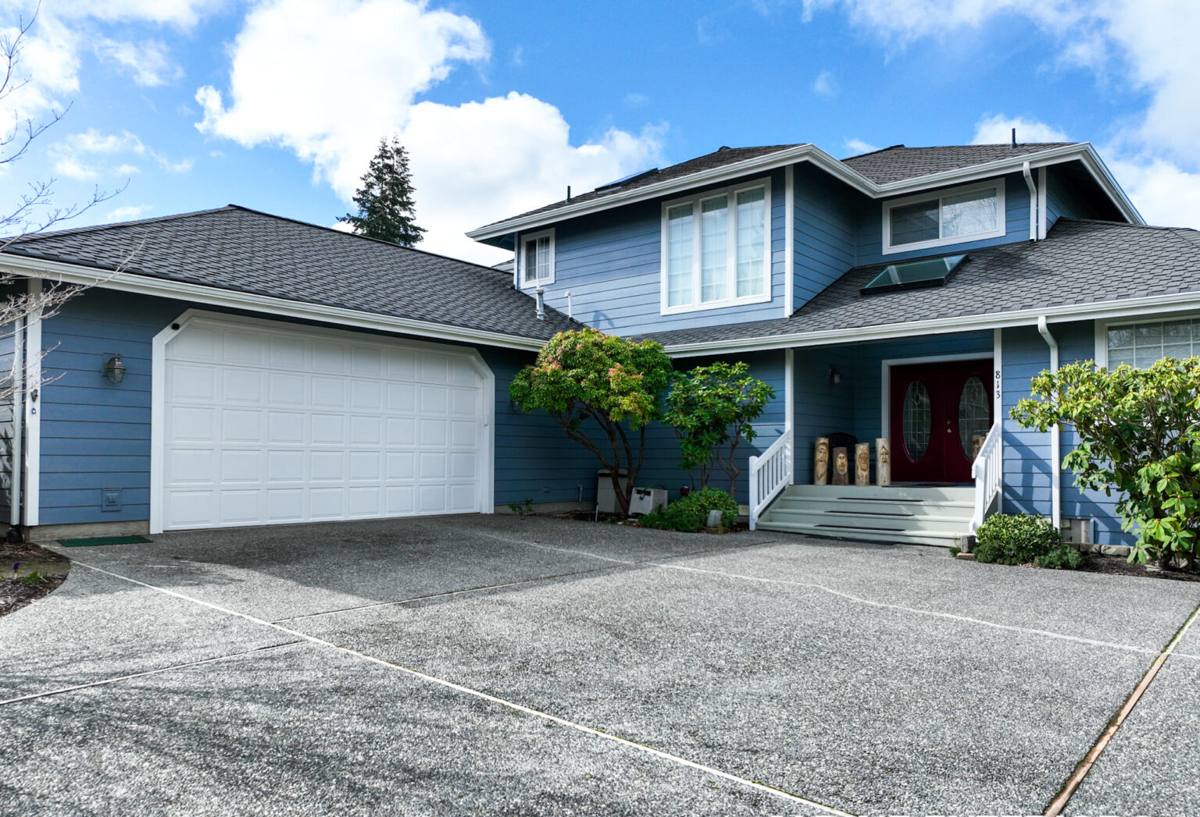
New-Construction vs. Replacement: Why the Distinction Matters
"New-construction" windows have a nailing flange (sometimes called a nail fin) built into the frame. That flange is meant to be integrated directly into the wall's water-resistive barrier (WRB) and flashing system before siding goes on — it's a structural and waterproofing connection, not just a trim detail. Replacement or "pocket" windows are built without that flange specifically so they can slip into an existing opening without disturbing the surrounding wall.
On a South Hill new build or addition, using the correct window type isn't optional. A new-construction window installed properly becomes part of the wall's drainage plane. Installed incorrectly — or a replacement-style window used where a new-construction unit belongs — the wall can't shed water the way it was designed to, and that's a much bigger problem in a climate that sees this much driving rain.
What This Means for Framing and Timing
Because the flange integrates with the WRB, window installation on new construction has to happen in sequence with the rest of the building envelope — after the WRB is on, before siding starts, and coordinated with whoever is handling the flashing details around each rough opening. This is one of the places where a general framing crew and a window-and-siding specialist need to be talking to each other, not working in isolation.
The Three Local Factors That Shape a Correct Install
Salt Air
Proximity to the water means airborne salt settles on exterior surfaces over time. It's not aggressive enough to be an emergency, but it does accelerate corrosion on unprotected fasteners and lower-grade hardware, and it can dull or pit certain finishes faster than they'd wear inland. We spec fasteners and hardware with that exposure in mind rather than treating South Hill like a generic Whatcom County lot.
Driving Rain
Storms off the Sound don't just drop rain straight down — wind pushes it sideways and up under trim, sills, and anything with a gap. A flashing detail that would be fine in a dry climate can leak here simply because the water arrives from an angle the design didn't account for. Every lap and overlap in the flashing sequence has to shed water downward and outward, with nothing depending on caulk alone to stay dry.
Long Moss and Algae Season
Shaded, north-facing walls and anything that stays damp for extended stretches will grow moss and green algae given enough time. This is mostly a maintenance and appearance issue rather than a structural one, but it does mean trim details, sill design, and drainage gaps around new windows should be built to let water and debris move off rather than sit and collect.
What a Correct New-Construction Window Install Actually Involves
There's a specific order of operations that keeps water moving out of the wall instead of into it. Skipping steps, or doing them out of sequence, is the single most common source of hidden water problems in new construction — not the window unit itself.
- Rough opening is checked for square, level, and correct dimensions before the window ever shows up on site.
- A sloped sill pan goes in first, so any water that gets past the window has a built-in path back outside instead of sitting on the framing.
- Jamb flashing goes on next, lapped correctly over the sill pan.
- The window is set, shimmed level and plumb, and fastened through the nailing flange per the manufacturer's schedule — not just wherever it's convenient.
- Head flashing goes on last and laps over the WRB above the opening, so water draining down the wall goes over the window, not behind it.
- The WRB is integrated at every flange with the correct shingle-lap order — sill, jambs, head — before siding closes it all in.
- Interior and exterior sealant is applied only where the manufacturer specifies it — sealing every seam isn't correct practice, since some gaps are intentional drainage or pressure-equalization points.
Where Installs Go Wrong
Most of the water intrusion problems we get called to diagnose in newer homes trace back to one of a handful of shortcuts: no sill pan, flashing lapped in the wrong order, fasteners run outside the manufacturer's pattern, or a bead of caulk used to "fix" a gap that should have been flashed instead. Caulk is not a substitute for correct flashing sequence — it's a backup, not the plan.
Frame Material: Trade-Offs for a Salt-Air, High-Moisture Site
There's no single "right" window material for every project — it depends on budget, the home's design, and how much upkeep the owner wants to take on. Here's how the common options hold up under South Hill's conditions specifically.
| Frame Material | Salt Air / Coastal Exposure | Moisture & Rot Resistance | Maintenance |
|---|---|---|---|
| Vinyl | Handles salt air well; no corrosion risk | Won't rot; seams and welds are the main watch point | Low — occasional cleaning |
| Fiberglass | Very stable; minimal expansion/contraction | Excellent; dimensionally stable in wet-dry cycling | Low |
| Aluminum | Can corrode/pit faster near salt air without proper coating | Good if thermally broken; condensation risk otherwise | Moderate |
| Wood-clad | Cladding protects the exterior face; exposed wood elsewhere is vulnerable | Weakest point is any exposed or damaged wood/end grain | Higher — finish and seams need periodic checks |
Our standard on projects out here leans toward vinyl or fiberglass for most new construction because they hold up with the least ongoing attention. Wood-clad units can still be the right call for a specific architectural look — we just make sure the client understands the added maintenance commitment before we install them, rather than after.
How We Handle a South Hill New-Construction Job
Before Windows Arrive
We walk the rough openings with the builder or homeowner, confirm sizes against the actual window order, and check that the WRB and any structural details are ready for our flashing sequence. Catching a framing discrepancy before the windows show up saves everyone a delay.
During Install
We work opening by opening through the full sill-pan-to-head-flashing sequence rather than setting every window first and flashing afterward. It's slower per window but it's the only way to guarantee the lap order is correct at every seam.
After Install
We check operation, confirm weep paths and drainage gaps aren't blocked, and do a final look at every flashing lap before siding crews close the wall. Once siding goes on, those laps aren't visible again — so this is the last real chance to catch anything.
A Practical Checklist for Homeowners and Builders
- Confirm the windows ordered are true new-construction units with a nailing flange, not pocket/replacement windows.
- Ask what sill pan flashing method will be used before the windows are set.
- Confirm the flashing lap order in writing: sill, then jambs, then head.
- Ask which fastener type is being used through the flange, and whether it's rated for coastal/salt-air exposure.
- Don't let siding start on a wall until flashing laps have been visually checked.
- Keep manufacturer installation instructions on file — they govern warranty coverage if something goes wrong later.
What Affects Cost on a New-Construction Window Job
| Factor | Why It Matters |
|---|---|
| Window count and size | More openings and larger units mean more labor and material |
| Frame material | Vinyl is typically the most budget-friendly; fiberglass and wood-clad cost more up front |
| Glazing package | Upgraded low-E coatings or gas fills add cost but improve comfort and efficiency |
| Wall height / access | Second-story and hard-to-reach openings take longer and may need lift equipment |
| Coordination complexity | Jobs scheduled tightly with framing and siding crews require more on-site coordination time |
We give straightforward, itemized estimates rather than a single lump number, so a homeowner or builder can see exactly what's driving the price.
Why It Matters to Hire a Crew That Already Works This Neighborhood
South Hill's mix of coastal exposure, storm-driven rain, and a long damp season isn't unique to this one neighborhood, but it is consistent enough across Fairhaven and the rest of Whatcom County that experience here actually transfers job to job. A crew that's flashed openings on this side of Bellingham Bay knows where driving rain tends to find gaps, which fastener and sealant products hold up under salt exposure, and how to sequence work around the area's wetter months without cutting corners to make a schedule. That's not something you get from a crew's general résumé — it's something you get from having done it here, repeatedly, and having gone back to check on it years later.
If you're planning new construction or an addition in South Hill and want windows installed the way this climate actually requires, we're happy to walk the plans or the site with you and put together a straightforward, no-pressure estimate — just fill out the form below to get started.