 Fairhaven Siding
 Building New in Puget: Windows Are Not a Detail to Get to Later
When a home is going up in Puget, window installation tends to get scheduled around everything else — framing, roofing, siding start dates. That is a mistake specific to this stretch of Fairhaven. Puget sits close enough to Bellingham Bay that new construction here deals with salt-laden air, sideways rain off the water, and a wet season that runs long by any standard. A window that goes in wrong on day one does not show a problem for a year or two. By the time staining, soft trim, or a musty smell shows up inside a wall cavity, the siding and interior finishes are already covering it.
This page is about one job done right: installing new-construction windows in new-build homes in Puget, Fairhaven, Whatcom County. Not replacement windows in an existing wall — new units going into a rough opening for the first time, on a schedule where the flashing, the weather-resistive barrier, and the siding all have to line up correctly the first time.
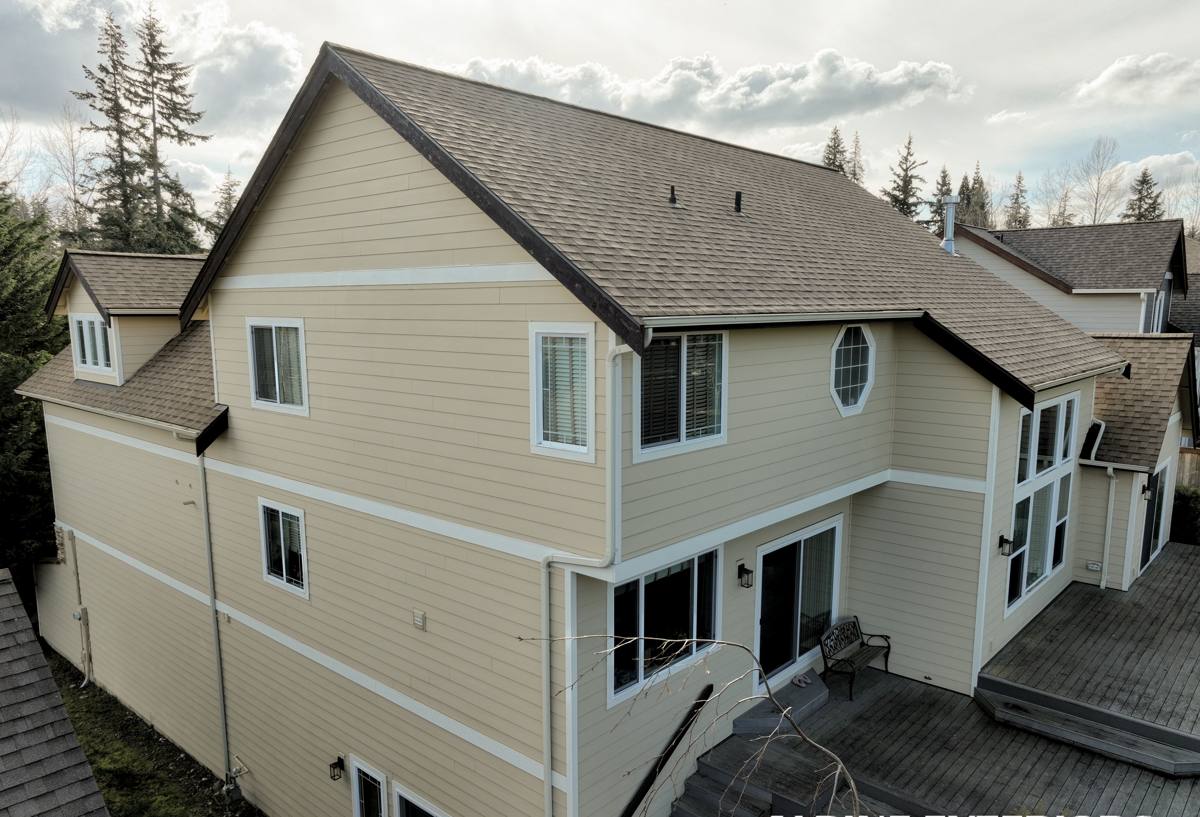
What Fairhaven's Marine Climate Does to a New Window Installation
Puget's proximity to the water changes what "correct installation" means compared to a drier inland build. Three conditions matter most.
Salt Air and Metal Fatigue
Airborne salt off Bellingham Bay accelerates corrosion on anything metal that is not rated for it — fasteners, flashing, and hardware included. A window that would hold up for decades ten miles inland can show pitting, staining, or hardware failure years earlier here if the wrong fastener or flashing metal was used. This is a materials decision made at install time, not something you can fix after the siding is closed up.
Driving Rain and Wind-Driven Moisture
Storms coming off the water in Fairhaven do not fall straight down — wind pushes rain sideways and up under trim, sills, and laps that would shed water fine in a calmer climate. New-construction windows have an advantage here that replacement windows don't: with the wall open, we can build a flashing system that actually manages wind-driven water, not just vertical rain. That advantage is wasted if the crew treats it like a standard install.
A Long Moss Season
Whatcom County's wet season stretches long, and anything shaded or slow to dry grows moss and holds moisture. Around window openings, that means sills, trim, and the siding-to-window transition need to be built to drain and dry quickly, not just to look finished on install day. Trapped moisture behind trim or under a sill during a long damp stretch is how rot starts in framing that should have lasted the life of the house.
What a Correct New-Construction Window Install Actually Involves
New-construction windows are set with a nailing flange directly to the sheathing, before or as the weather-resistive barrier and siding go on. That gives us full access to the rough opening — which is the whole point. Done right, the sequence looks like this:
Rough Opening and Sill Pan
Before the window ever goes in, the rough opening gets a sloped sill pan so that any water that gets past the window has a built-in path back outside instead of a place to pool. This step gets skipped more often than homeowners realize, because it doesn't show once the window is set — but it's the single biggest factor in whether a sill stays dry through a Fairhaven winter.
Flashing in the Right Order
Flashing has to be layered so that each piece sheds water onto the one below it, like shingles — sill flashing first, then the window itself, then jamb flashing, then head flashing last, integrated with the weather-resistive barrier above the opening. Get this order wrong — even by installing head flashing before the WRB laps over it — and water finds the gap eventually, especially under wind-driven rain.
Integrating with the Weather-Resistive Barrier and Siding
The window opening is only as good as its connection to the rest of the wall assembly. The WRB has to lap correctly over the flashing at the head and behind it at the sill and jambs, and the siding trim around the window has to be detailed to drain rather than trap water against the frame. On a new build, we coordinate this directly with the framing and siding crews so nobody is guessing what the other trade already did.
Air Sealing from the Inside
Once the exterior is weathertight, the interior gap between the window frame and rough opening gets sealed and insulated properly — not just stuffed with fiberglass, which does little for air infiltration. A tight interior seal is what keeps energy bills reasonable and keeps condensation from forming on cold window frames during Fairhaven's damp months.
Choosing Window Products for Puget's Conditions
Frame material matters more here than in a drier climate, because salt air and sustained moisture punish weak points faster. There is no single right answer for every home — it depends on budget, style, and how close to the water the lot sits — but here is how the common options compare for this specific setting.
| Frame Material | Salt-Air Behavior | Maintenance | Typical Fit |
|---|---|---|---|
| Vinyl | Does not corrode; welded corners resist water intrusion well | Low — occasional cleaning | Cost-conscious new builds, most residential lots |
| Fiberglass | Very stable in salt air and temperature swings; holds paint well if a custom color is wanted | Low | Homes wanting a wood look with less upkeep, higher-end builds |
| Aluminum-clad wood | Good if cladding and flashing details are done correctly; exposed wood interior needs protection from interior humidity too | Moderate — cladding seams and any exposed wood need periodic checks | Homes prioritizing a wood interior look, willing to maintain it |
| Bare aluminum frame | Prone to corrosion and thermal performance issues in this climate unless thermally broken and marine-rated | Higher — corrosion monitoring needed | Not our first recommendation for Puget's exposure |
Whatever frame material a homeowner chooses, we spec corrosion-resistant fasteners and flashing metals as standard on Puget builds — stainless steel or coated fasteners, not the mill-standard hardware that ships in a generic install kit.
Puget's exposure also affects budget planning, not just material choice. Corrosion-resistant fasteners, proper sill pan materials, and extra flashing tape at each opening add a modest cost per window compared to a stripped-down inland install — but that cost is far smaller than what it takes to open a wall and repair rot around a window that was flashed wrong. On a new build, this is the cheapest point in the entire life of the house to get these details right, because the wall is already open and nothing has to be demolished to do it.
Energy Code and Performance Ratings
Washington's energy code sets minimum performance requirements for new-construction windows, and Whatcom County's climate zone means U-factor and solar heat gain coefficient (SHGC) both matter — U-factor for keeping heat in during our long heating season, SHGC for managing the lower-angle winter sun without overheating south-facing rooms in summer. NFRC labels on every window we install show these numbers so you can verify the specs match what was quoted, not just what looks similar on a spec sheet. Bedroom windows also have to meet egress size and operation requirements under code, which we factor into the window schedule during planning, not after the rough openings are framed.
Our Process for a Puget New-Construction Install
On a new build, we work directly off the framer's rough openings and the builder's schedule. Timing matters as much as technique on a new build. Windows typically go in after the weather-resistive barrier is on the walls but before siding starts, which means there's often a window — days or sometimes weeks on a busy build schedule — where the openings are flashed but not yet covered by siding. In Fairhaven's wet season, that gap is when temporary protection matters: keeping flashing tape and sealant within their application temperature range, and not leaving a flashed-but-unsided opening exposed to a stretch of driving rain longer than necessary. We coordinate our schedule with the builder's siding start date specifically to keep that exposure window short. In practice, our install process looks like this:
- Review rough opening sizes and window schedule against the plans before delivery, catching sizing conflicts before install day.
- Install sloped sill pans and layered flashing per manufacturer instructions, adapted for this site's wind and rain exposure.
- Set and shim windows plumb, level, and square, with fasteners spaced and torqued to spec — not just "tight enough."
- Integrate flashing with the WRB and coordinate hand-off to the siding crew so the water path stays continuous.
- Air seal and insulate the interior gap once the exterior is weathertight.
- Walk the finished openings with the builder or homeowner before siding closes them up for good.
That last step matters. Once siding covers the window perimeter, checking the flashing work means removing finished material. We treat the pre-siding walkthrough as the last real chance to catch anything before it's buried for the life of the house.
Why a Crew That Already Works Puget Matters
A contractor who mostly works drier, inland jobs can install a technically correct window and still get it wrong for this location — because "correct" in Fairhaven includes decisions a general install checklist doesn't cover: which fastener resists this air, how much slope a sill needs for this wind direction, where moss will actually take hold on this house's shaded elevations. A crew that has done new-construction window installs elsewhere in Whatcom County and around Bellingham Bay has already seen how these homes age in this climate — which details hold up and which ones come back as callbacks. That's the difference between a window that looks right on install day and one that's still performing in fifteen years of Puget winters.
A Practical Checklist Before Your Windows Go In
Whether you're a homeowner working with a builder or managing your own new build, these are worth confirming before window install day on a Puget lot:
- Sill pan flashing is specified for every window opening, not just the ones facing the weather side.
- Flashing sequence is documented — sill, then window, then jambs, then head, lapped correctly with the WRB.
- Fasteners and flashing metals are corrosion-resistant, not standard mill hardware.
- Window U-factor and SHGC ratings are confirmed against Washington energy code for this climate zone, with NFRC labels on hand.
- Bedroom egress windows meet size and operation requirements before the rough openings are framed around them.
- There's a scheduled walkthrough of the window openings before siding closes them in.
- The installing crew can speak to specific choices made for salt air and wind-driven rain — not a generic answer.
If you're building new in Puget and want the windows handled by a crew that treats the flashing and sill detail as seriously as the finish work, we're happy to walk your plans and rough openings and give you a straightforward, no-pressure estimate. Use the form below to get started.