 Fairhaven Siding
 Window Installation Built for Lummi Island's Conditions
Lummi Island sits out in the water off Fairhaven, and that location is exactly why windows here wear out faster than windows fifteen miles inland. Salt-laden air moves off the water and settles on everything, wind-driven rain hits exposed walls straight-on during winter storms, and a long, damp moss season keeps trim and siding wet for weeks at a time. A window installed correctly on a sheltered street in town can still fail early out here if it's installed the same generic way. We treat Lummi Island jobs as coastal work, not standard Whatcom County work, because the exposure is genuinely different.
This page covers what that means in practice: how salt air and moisture actually damage windows, what a correct installation looks like for this specific environment, how we plan around the realities of working on an island, and what to expect if you're considering new windows for a Lummi Island home.
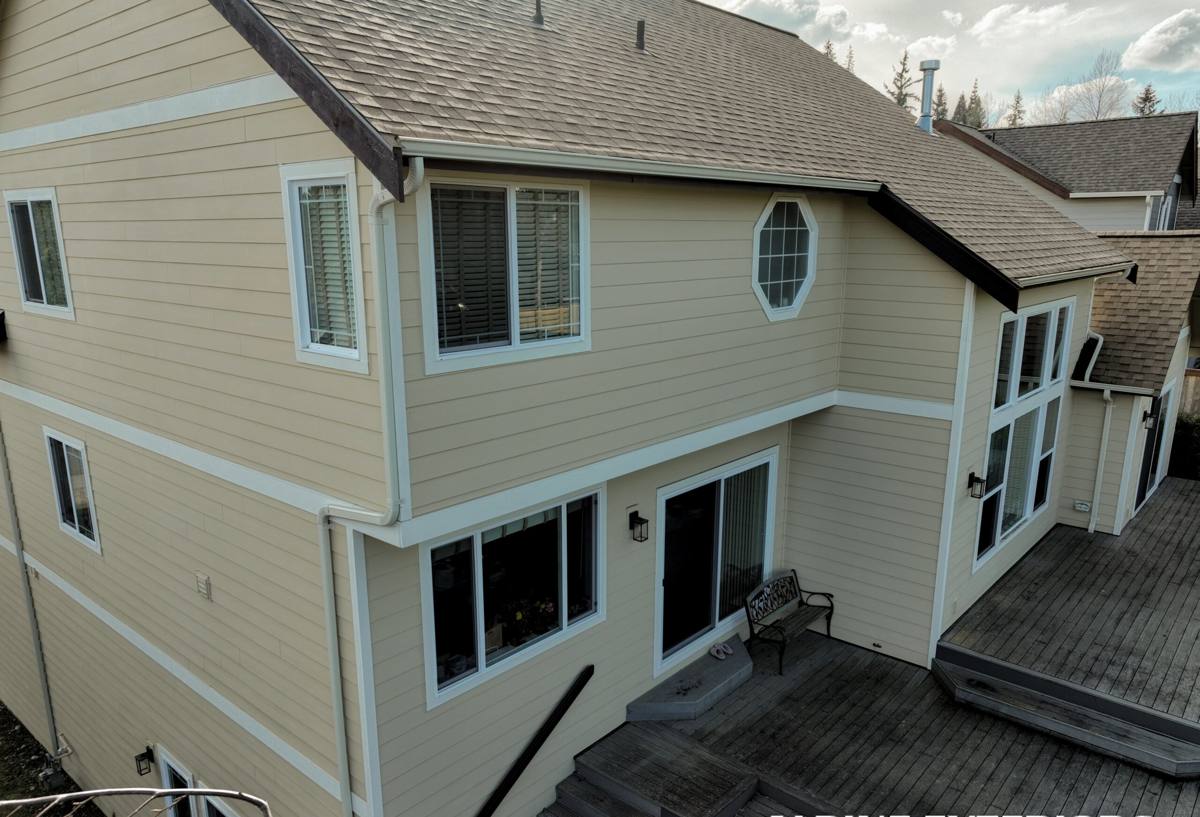
What Salt Air and Coastal Wind Do to Windows Over Time
Hardware and Frame Corrosion
Salt air is corrosive to anything metal, and windows have more metal in them than most homeowners realize — hinges, locks, balance mechanisms, screen frames, and fasteners. Standard hardware that's fine in a typical inland home can start pitting and seizing within a few years on an exposed waterfront wall. Aluminum-clad frames and screen tracks are also more prone to oxidation and corrosion staining when they're getting regular salt exposure and don't get rinsed by fresh rain the way you'd think — salt spray settles in even during dry spells.
Wind-Driven Rain Intrusion
Rain that falls straight down is easy to shed. Rain that's being pushed sideways by wind off the water is a different problem — it finds gaps at the sill, at the nailing flange, and around trim that would never leak in a calmer setting. This is the single biggest cause of hidden window damage we see on exposed island walls: not a dramatic leak, but a slow intrusion at a poorly flashed sill that rots framing from the inside before anyone notices a stain.
Moss Season and Moisture Around Window Openings
Whatcom County's wet season keeps north- and shade-facing walls damp for long stretches, and moss and lichen take hold anywhere moisture lingers — including on trim boards and window sills that don't dry out between rains. Moss holds water against wood longer than bare wood alone would, which accelerates rot at exactly the point where a window's weather-resistant barrier needs to be doing its job. A window installation that doesn't account for this — thin caulk joints instead of proper flashing, no drainage path, trim installed tight against the frame with no gap to dry — sets a home up for repeat problems within a handful of seasons.
Choosing the Right Window for a Lummi Island Home
There's no single "best" window for every home, but some choices hold up noticeably better in salt air and constant moisture exposure than others. We walk homeowners through the real trade-offs rather than pushing one product line.
| Frame Material | Coastal / Salt-Air Performance | Maintenance | Good Fit For |
|---|---|---|---|
| Vinyl | Good — won't corrode or rust, but can expand/contract more in temperature swings | Low — occasional cleaning | Most standard replacement projects, budget-conscious upgrades |
| Fiberglass | Very good — dimensionally stable, resists warping and corrosion | Low | Exposed or waterfront-facing walls, larger openings |
| Aluminum-clad wood | Fair — cladding protects the exterior but needs correct sealing at joints and fasteners | Moderate | Homeowners prioritizing a wood interior look |
| Bare wood | Poor without diligent upkeep — most vulnerable to moisture and salt exposure | High | Historic-style homes where the owner is committed to regular maintenance |
Hardware matters as much as frame material. On exposed walls we lean toward stainless or corrosion-resistant hardware and screen components rather than standard-grade parts, since that's usually the first thing to fail on a coastal install. Glass package matters too — a good Low-E coating cuts glare off the water and helps with year-round comfort, and for larger or more exposed openings, tempered or laminated glass is worth discussing depending on the wall's wind exposure.
What a Correct Installation Involves
Removing the Old Window Right
A rushed removal is where hidden problems get missed. We pull the old window fully, then check the framing, sill, and sheathing underneath for rot or soft spots before anything new goes in — this is often the first real look anyone's had at that framing in decades, and on a coastal wall it's not unusual to find some moisture damage that needs addressing before the new window goes in.
Flashing and the Water-Resistive Barrier
This is the part that actually determines whether a window keeps water out for the next twenty years, and it's also the part that's easiest to shortcut. A correct install includes a sloped sill pan to direct any water that gets past the window back outside, flashing tape integrated properly with the house's water-resistive barrier (not just caulked over it), and jamb and head flashing sequenced so water always drains down and out — never trapped behind the siding.
Sealing Without Trapping Moisture
More sealant isn't always better. Sealing the interior air gaps tight while leaving a proper drainage path on the exterior side is what actually works — a window that's caulked solid all the way around on the outside with no way for incidental moisture to escape will hold water against the frame instead of shedding it, which is a common cause of early failure on wet, exposed walls.
What a Correct Lummi Island Window Install Includes
- Full inspection of framing and sheathing before the new window is set
- Sloped sill pan flashing, not just caulk, at every opening
- Flashing tape properly integrated with the existing water-resistive barrier
- Corrosion-resistant fasteners and hardware on exposed or waterfront walls
- Correct shimming so the frame is square and operates smoothly for years, not just on install day
- Exterior drainage gap maintained — not sealed airtight on the outside
- Interior air sealing and insulation around the frame for comfort and efficiency
- Trim reinstalled with a gap to allow drying, not packed tight against damp wood
Our Process for Lummi Island Projects
Planning Around the Island
Working on Lummi Island means planning around the ferry, and a crew that hasn't done it before will burn a chunk of your install day just figuring that out. We stage materials and schedule crew and ferry timing in advance so the actual work on your home isn't cut short by logistics that should've been handled ahead of time.
Install Day
Most single windows are a same-day job; larger projects with multiple openings may run over one or two days depending on scope and what we find once the old windows come out. We protect interior floors and finishes, remove and dispose of the old windows, and don't leave an opening exposed to weather longer than necessary — especially important given how quickly wind-driven rain can find its way into an unprotected opening.
Cleanup and Warranty
We clean up debris and old materials before we leave, walk through each window's operation with you, and stand behind both the product warranty and our installation work. If something isn't sealing or operating right after the fact, that's on us to fix.
Signs Your Lummi Island Windows May Need Attention
Coastal wear doesn't always show up as an obvious leak. Some signs worth having looked at:
- Hardware — locks, cranks, hinges — feels stiff, gritty, or corroded
- Visible pitting, white residue, or rust staining on frames or screens
- Moss or dark staining developing on trim near the window, even when the siding elsewhere looks fine
- Drafts or condensation between panes that weren't there a few years ago
- Soft or discolored trim boards or interior sill wood
- Windows that are noticeably harder to open and close than they used to be
Any one of these on its own might not mean urgent trouble, but on an exposed coastal wall they're worth checking before they turn into a framing repair.
Why a Crew That Already Works Lummi Island Matters
A contractor who's done window work on the island already understands the ferry schedule, has a sense of how exposed a given wall orientation really is, and isn't guessing at flashing details for the first time on your house. That familiarity shows up in fewer surprises, a more realistic project timeline, and materials chosen for what actually holds up out here rather than whatever's standard on the mainland. It also matters for smaller things — knowing which weather windows are realistic for exterior work during the wetter months, and not scheduling an open-wall install into a week that's likely to bring driving rain off the water.
Cost Factors to Expect
Every project is different, but the main variables that move the price on a Lummi Island window job are consistent: the number and size of openings, whether framing repair is needed once the old window comes out, the frame material and glass package chosen, and how much flashing and trim work is required around each opening. Coastal-grade hardware and flashing materials cost a bit more than standard-grade options, but they're the parts of the job that determine whether you're doing this again in ten years or twenty-five. We provide a clear, itemized estimate before any work starts so there are no surprises once the project is underway.
If you're weighing new windows for a Lummi Island home, we're glad to take a look and give you honest input on what your home actually needs — no pressure, no upsell. Use the form below to request a free estimate and we'll work with you to schedule a visit.